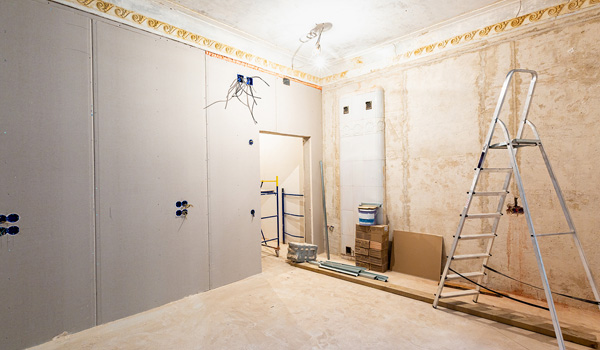
 Drywall installation is a critical part of any construction or renovation project. It ensures that walls and ceilings are both functional and visually appealing. Here’s a step-by-step guide on how professional drywall contractors handle this process:
1. Initial Preparation and Planning
The professionals will measure the space to determine the amount of drywall needed. Then, the site is prepared by covering floors and furniture to protect them from dust and debris.
2. Framing Inspection
The framing is inspected to ensure its properly aligned and spaced. Contractors also mark any hidden electrical wires or pipes to avoid damaging them during the process.
3. Cutting the Drywall
Drywall panels are cut to size with utmost precision. Then, the professionals will take the measurements, mark them, and cut the panels using a utility knife. They make sure the edges are clean for a snug fit.
4. Hanging the Drywall
The installation begins with the ceiling, followed by the walls. Panels are secured to the studs using screws or nails, with special attention to stagger the joints for added strength.
5. Taping and Mudding
Professionals will use the joint tape over the seams, followed by a thin layer of joint compound. Once dried, they will apply additional layers and feather out to blend seamlessly with the surface.
6. Sanding
Once the compound has dried, sanding is done to smooth out any imperfections. For the final stage, they will remove the dust to prepare the surface.
7. Priming and Painting Preparation
A coat of primer is applied to create an even base for painting or finishing. This step ensures the drywall is ready for its final appearance.
Working with expert drywall contractors like Yonge Painting guarantees precision, durability, and a high-quality finish. Call us for a seamless and personalized experience.
